I have always wanted to enter a baking competition, perhaps more for the challenge and the excuse to bake something rather than for the prize and few days ago I had my very first contest. At a local autumn inspired Bake Off I chose a heavenly gluten-free chocolate and pumpkin cheesecake that turned out to be a winning choice.
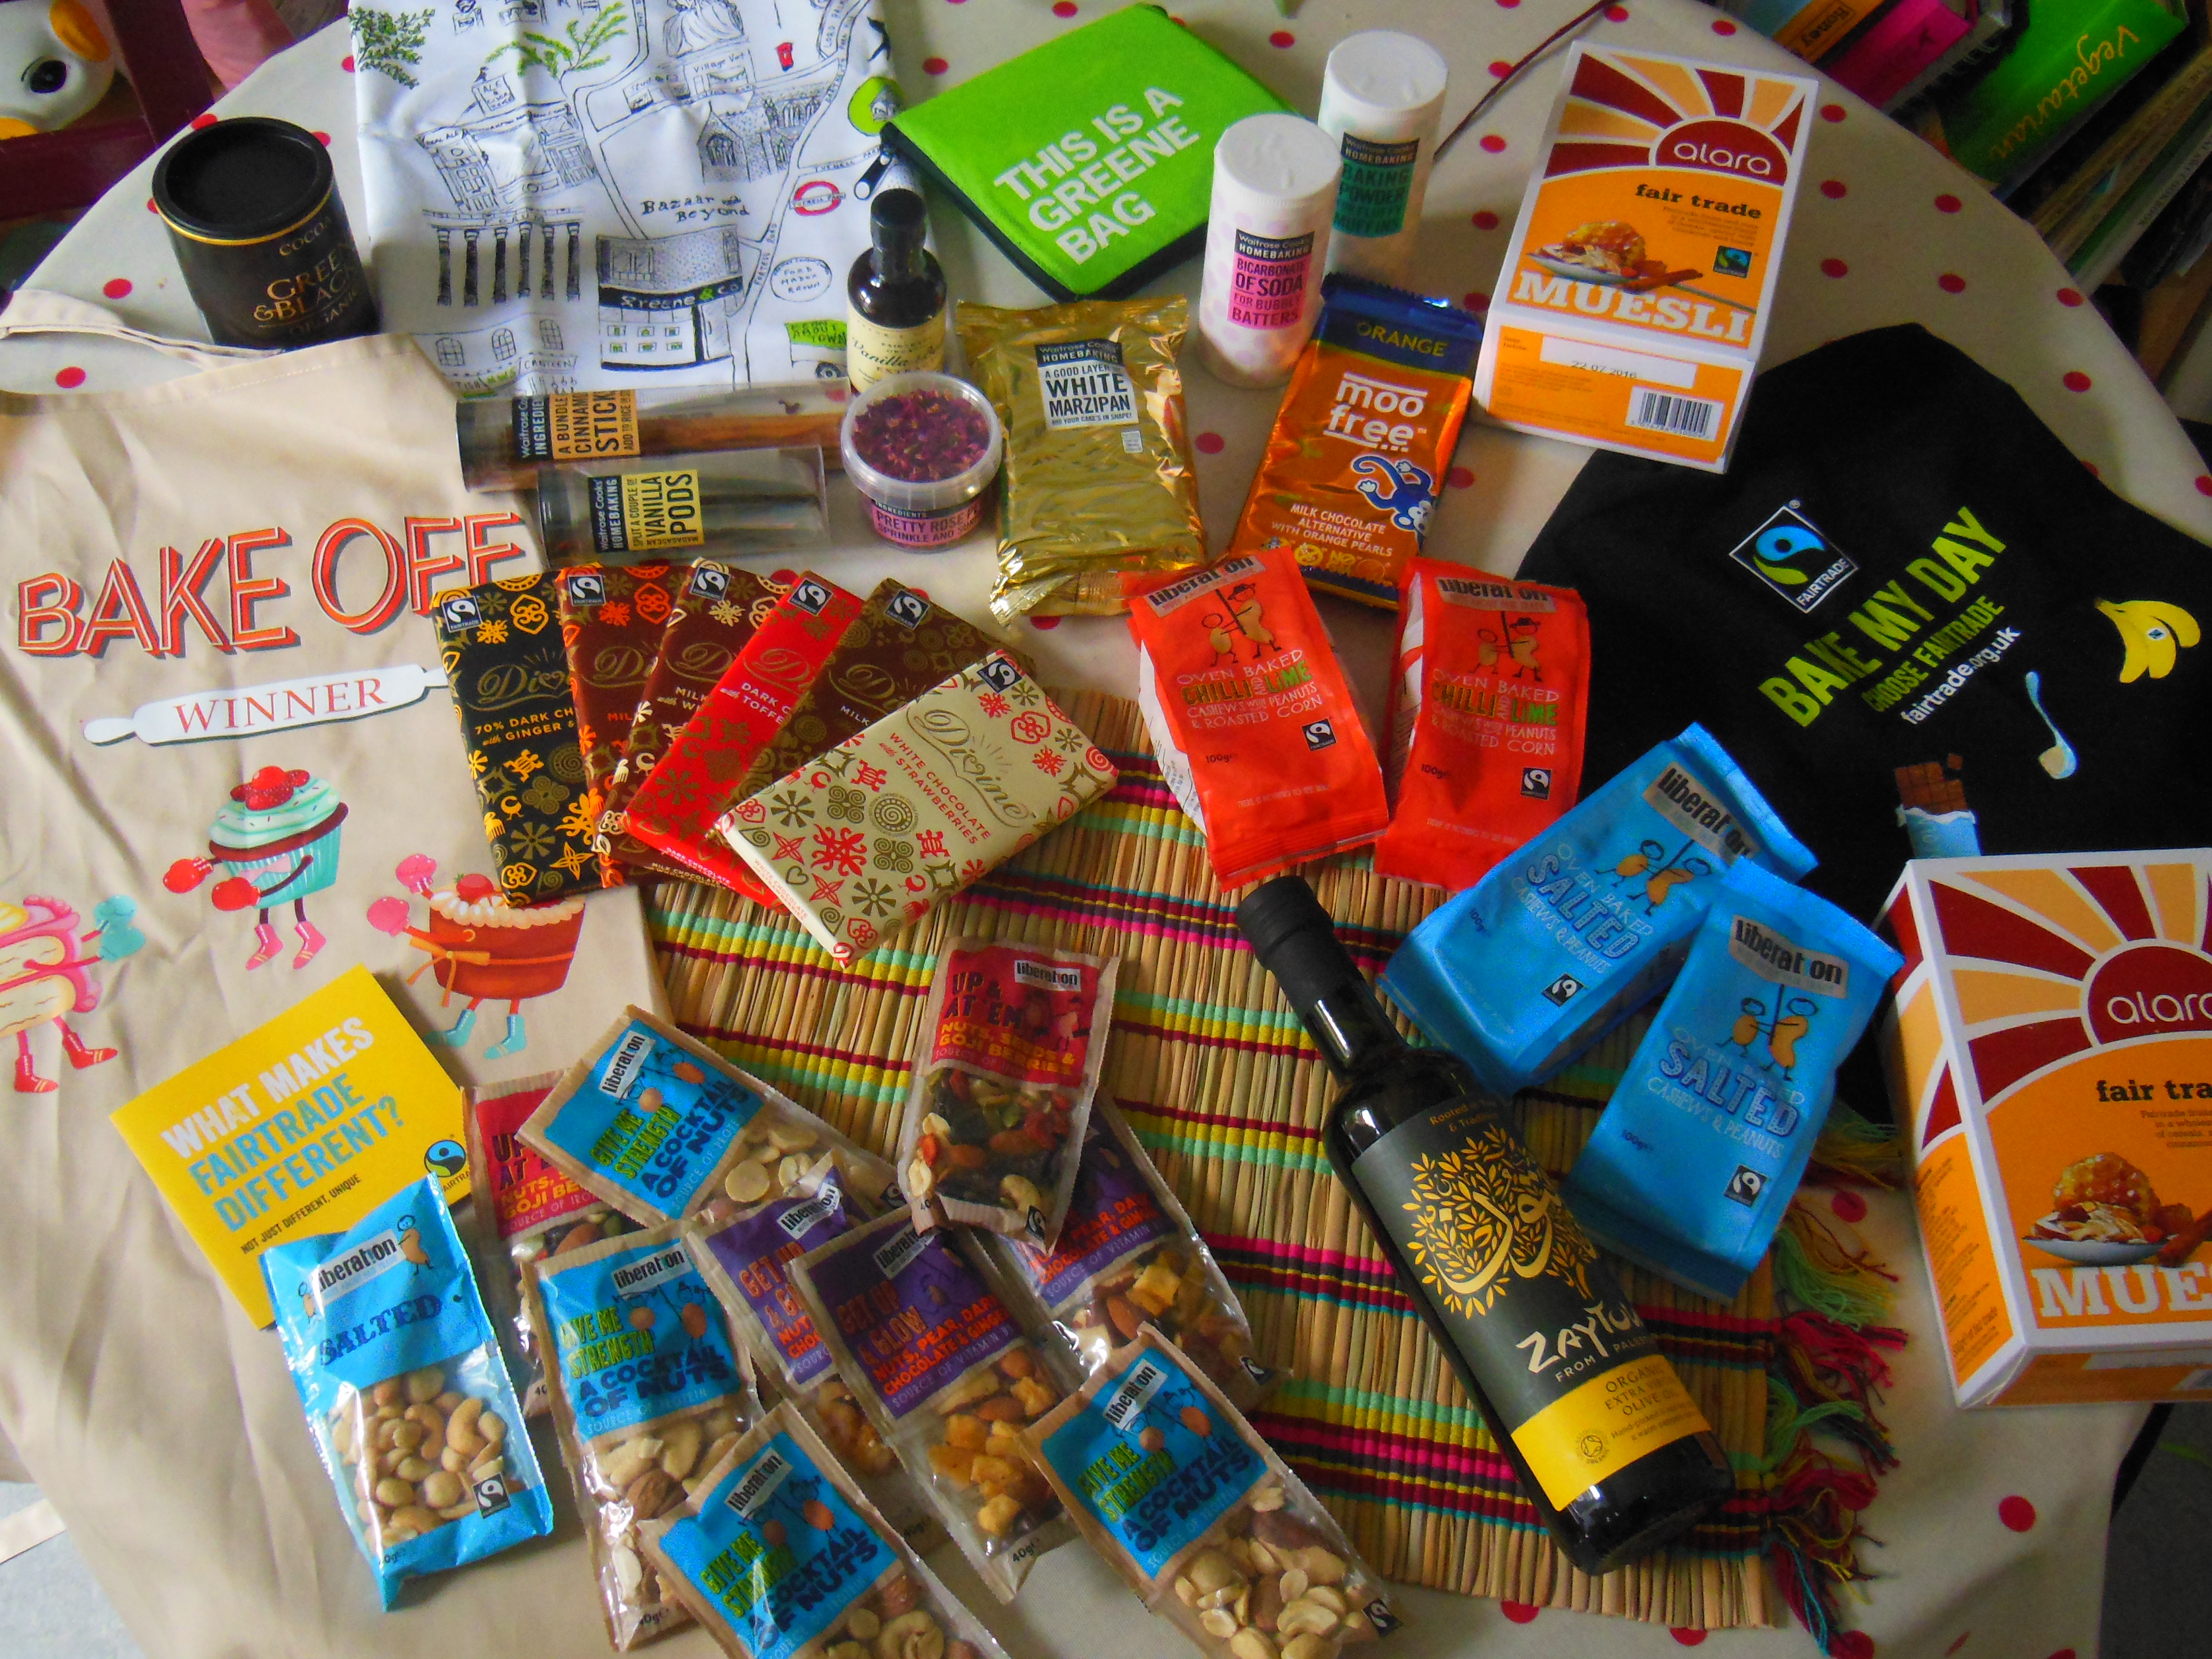
The event was organised by Kentish Town Community Centre, Fairtrade Camden and Greene & Co, who deserve a big thank you for making it happen and an even bigger thank you for the embarrassingly many foodie gifts I ended up with.
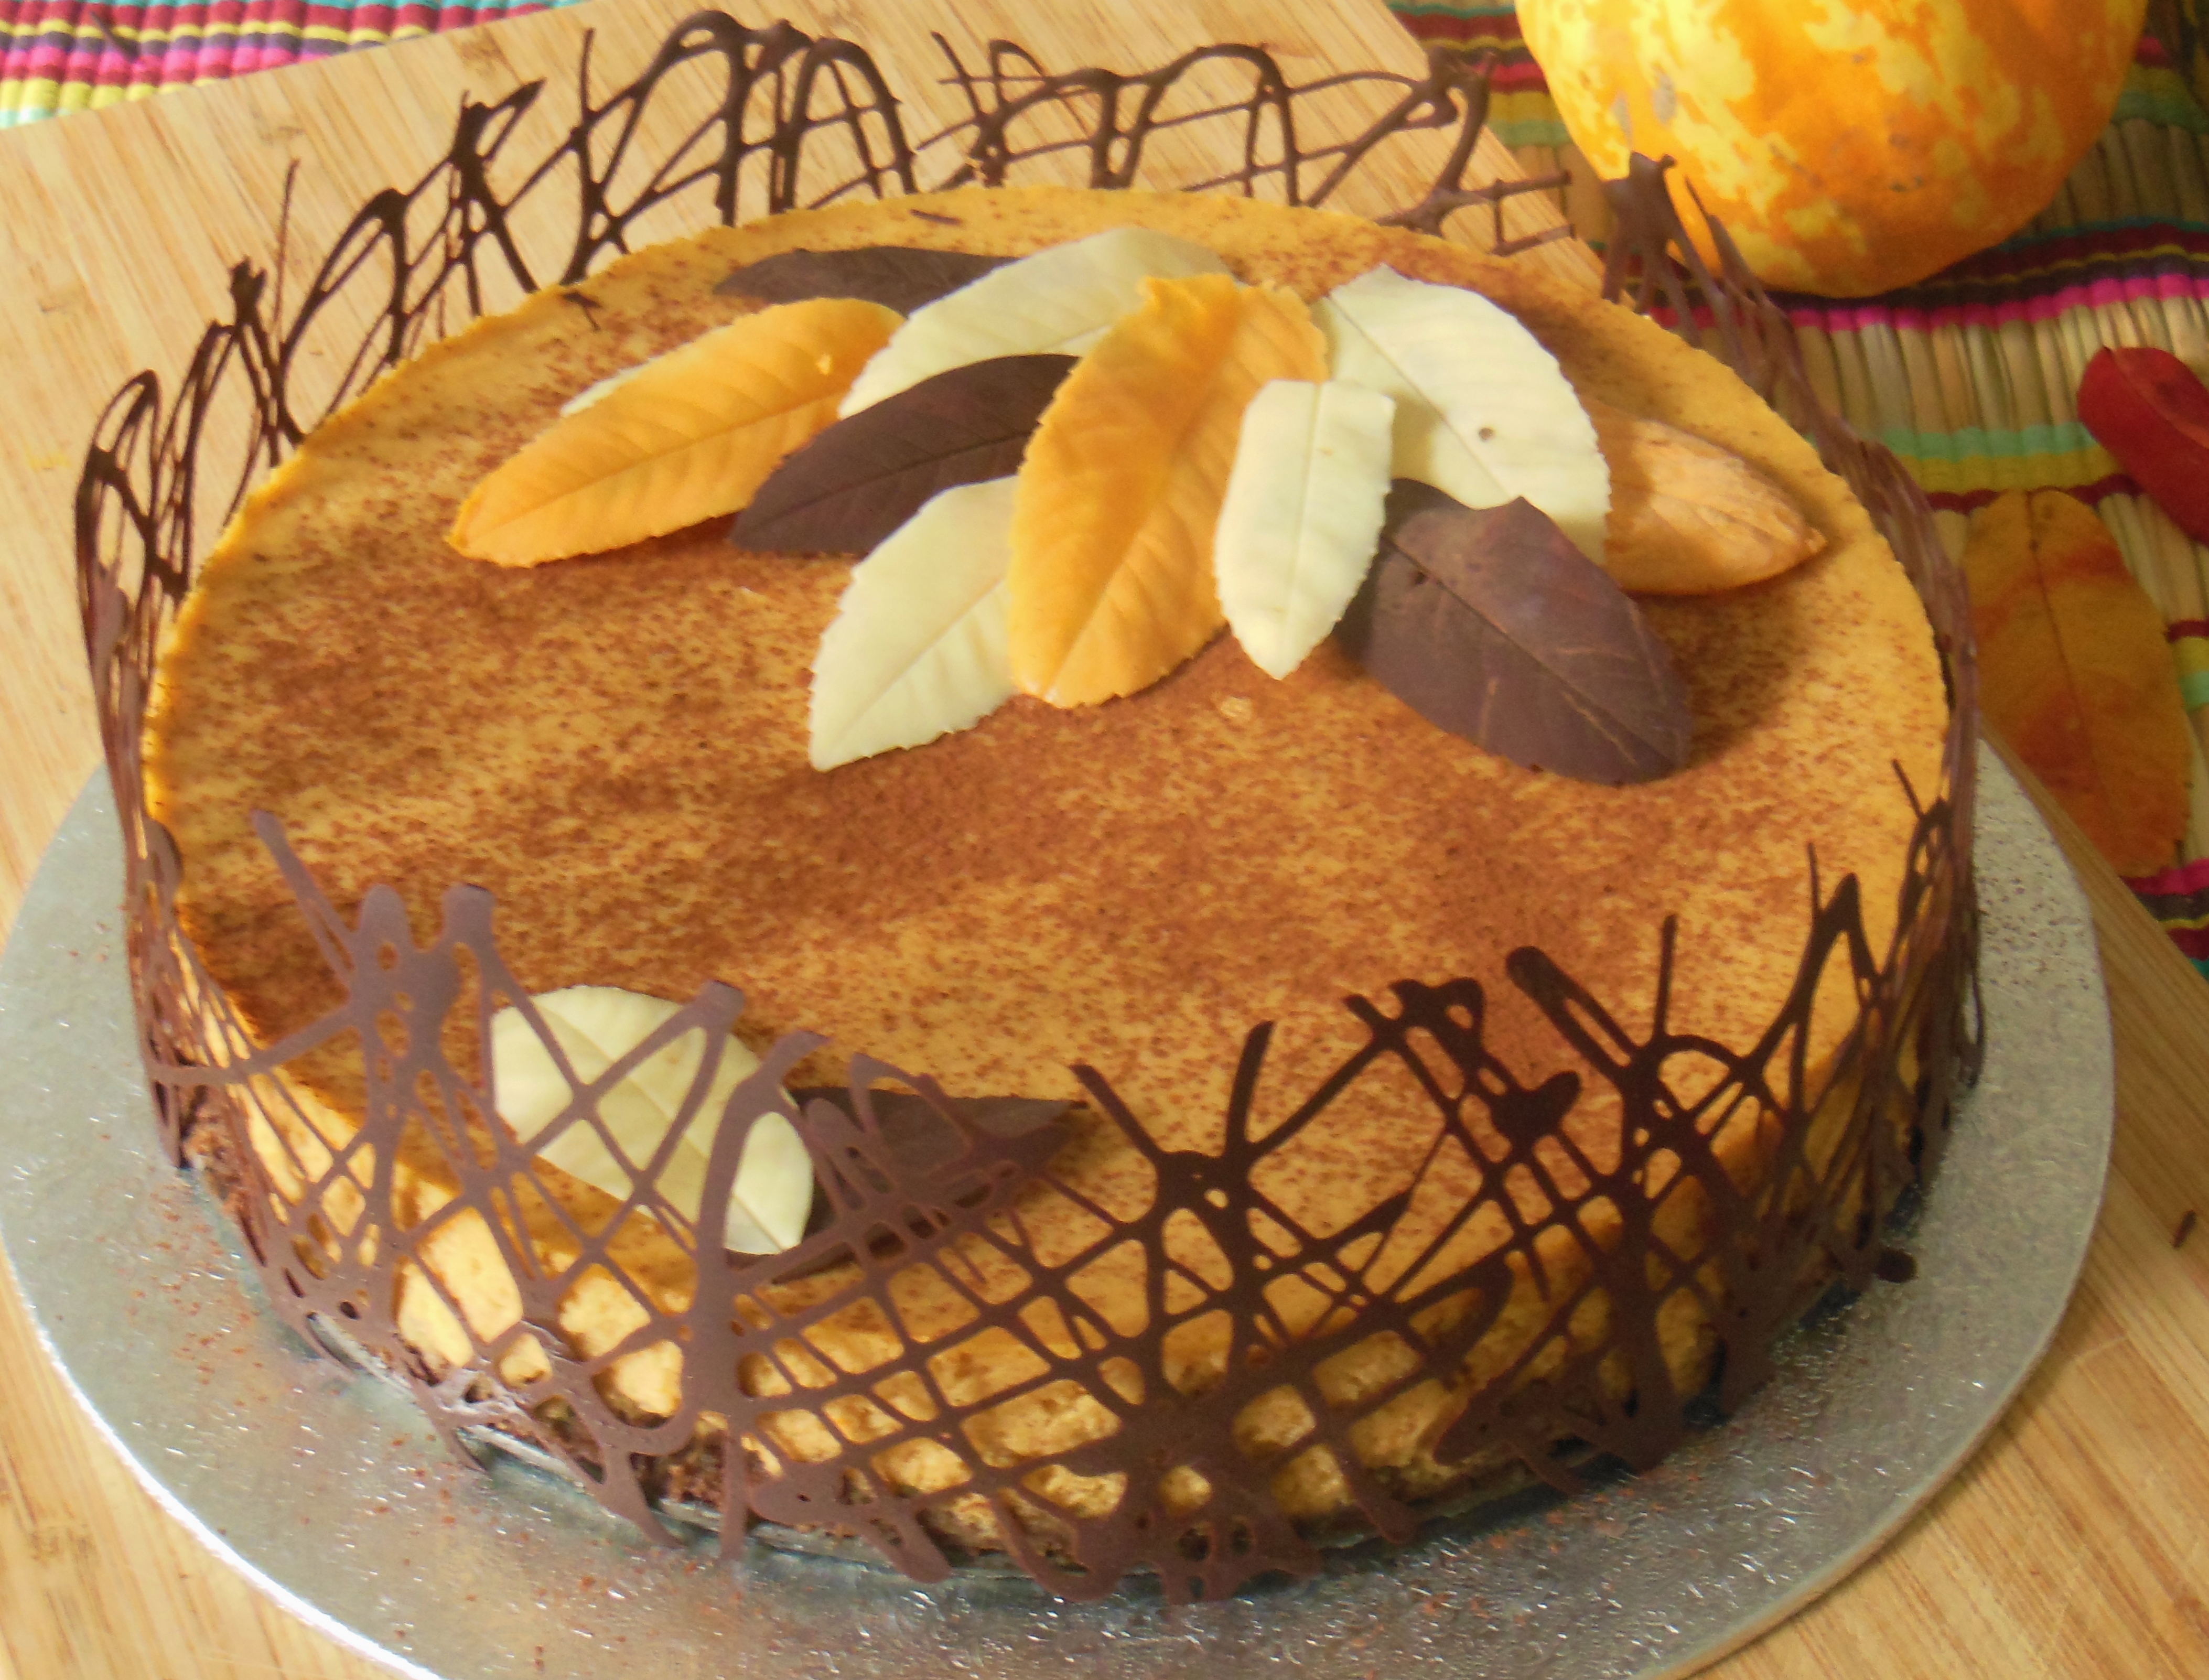
The recipe is easy, however make sure you prepare the cheesecake at least a day in advance as it requires a good chilling time. As it was a contest participant my cheesecake got a fancy chocolate decoration makeover. The cheesecake tastes as good without it, however the decoration adds a bit of a WOW factor to it.
You will need:
For the base:
130g Gluten-free digestive biscuits
3 tbsp. Cocoa powder
80g Butter – melted
For the filling:
2 cups Pumpkin puree (I used 2 very small squashes)
150g Ricotta
300g Cream cheese
3 Eggs
1 cup Caster sugar
2 tsp. Cinnamon
1 tsp. Mixed spice
Vanilla
For the Chocolate decoration:
Melted White chocolate
Melted dark chocolate
Preheat the oven as 170 0 C.
I always prefer to make my own pumpkin puree rather than buying a can. If you have no time and use the cans, skip this step. I prefer baking the pumpkin rather than boiling it as it keeps its sweetness and bright color, but boiling works too. Here I sliced my squash in big pieces (no need for peeling) and arranged the slices on a tray covered with foil. Pierce each piece with a fork and add just a tiny bit of water in the tray. Bake for about 30 min till the pumpkin is soft. Once ready, let it cool down and carefully remove the peel. I used a spoon to scoop the flesh. Using a blender, purée the pumpkin until you have a nice smooth mixture. Let it cool down while you prepare the base.
For the base crush the biscuits into fine crumbs. Melt the butter and once ready add the cocoa powder. If you want you can sweeten it up with 2 tbsp. of powder sugar, but I personally prefer the bitter cocoa taste. Pour the butter-cocoa mixture over the crumbs and mix well. Transfer the mixture into a tray and cover the bottom. Press the base firmly to the bottom of the tray using the back of a spoon and create small borders. Bake the base for about 10 – 15 min. Take it out and let it cool down.
In the meantime make the pumpkin cheese filling. Whisk the cream cheese with the sugar. Add the ricotta cheese and mix again. Add the eggs one by one and continue mixing. Add the spices and finally add the pumpkin puree. Once you have a smooth mixture pour it carefully over the cold base.
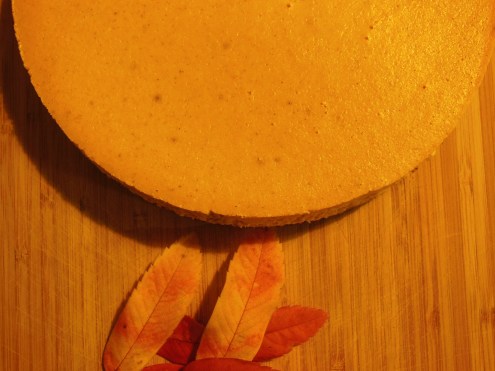
Reduce the oven to 150oC and bake in bain marie for 1h. Keep an eye on cheesecake as it will be ready once the cream has set, but yet the center is still liquid. Turn off the oven and let the cheesecake cool down in the oven with an open door. Leave it for another hour or so.
Once ready, place the cheesecake in the fridge and let it chill overnight.
For the decoration I decided to make chocolate leaves, inspired by the autumn theme. They are so easy to make but look so attractive! You simply need some real leaves and melted chocolate. Try choosing leaves that have prominent veins. The thinner the leaves the easier it will be to peel them off from the chocolate. Wash the leaves (just in case) and dry them well. Melt the chocolate of your choice. I used dark and white chocolate. If you want to add some colour you can also add a bit of colouring in the white chocolate. Once melted, brush the chocolate on the back side of the leaves. Make sure the layer is not too thin as otherwise once peeling the chocolate leaves can easily break.
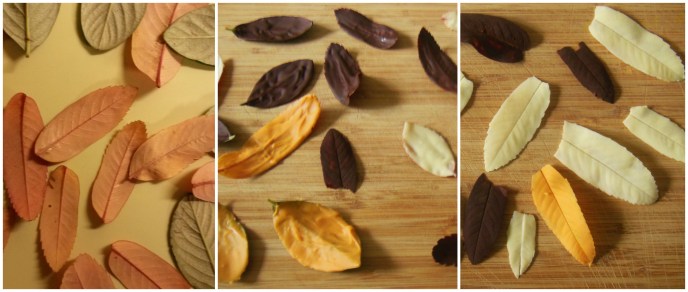
Once ready chill the leaves in a fridge. Once they have hardened up, very carefully start peeling off the real leaf from the chocolate. Place carefully on a plate and store them in the fridge. Decorate the cake just before serving.
The other decoration I made was a lace-like chocolate wall. Take some baking paper and cut a long strip. Ensure the length is just few centimeters more than the cake’s circumference and the height depends on how tall you want your decoration. Melt some chocolate and transfer it into a piping bag. Moving quickly draw chocolate strokes along the sheet, repeating 2-3 times in different directions. You can be really creative here. 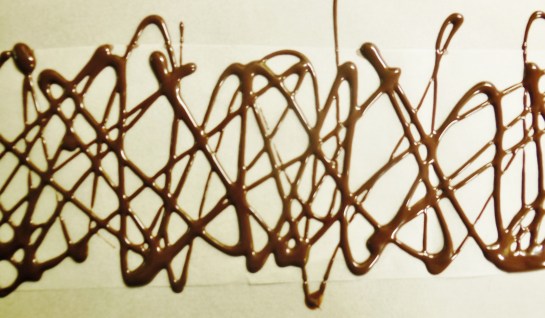
Once you have the shape you want, let the chocolate harden up but watch it carefully. Once it is almost dry but yet bending freely, wrap the baking sheet with the chocolate side around the cake. Leaving the sheet on, move the cake to the fridge and let the chocolate harden completely. Once ready, peel off the sheet from the chocolate very carefully.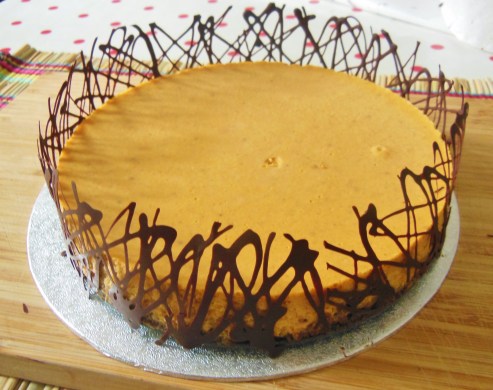
Now, I admit the chocolate decorations create a bit of a barrier to make the first move and get the first slice of the cheesecake, however once you have tasted it, nothing else matters anymore. Enjoy it! 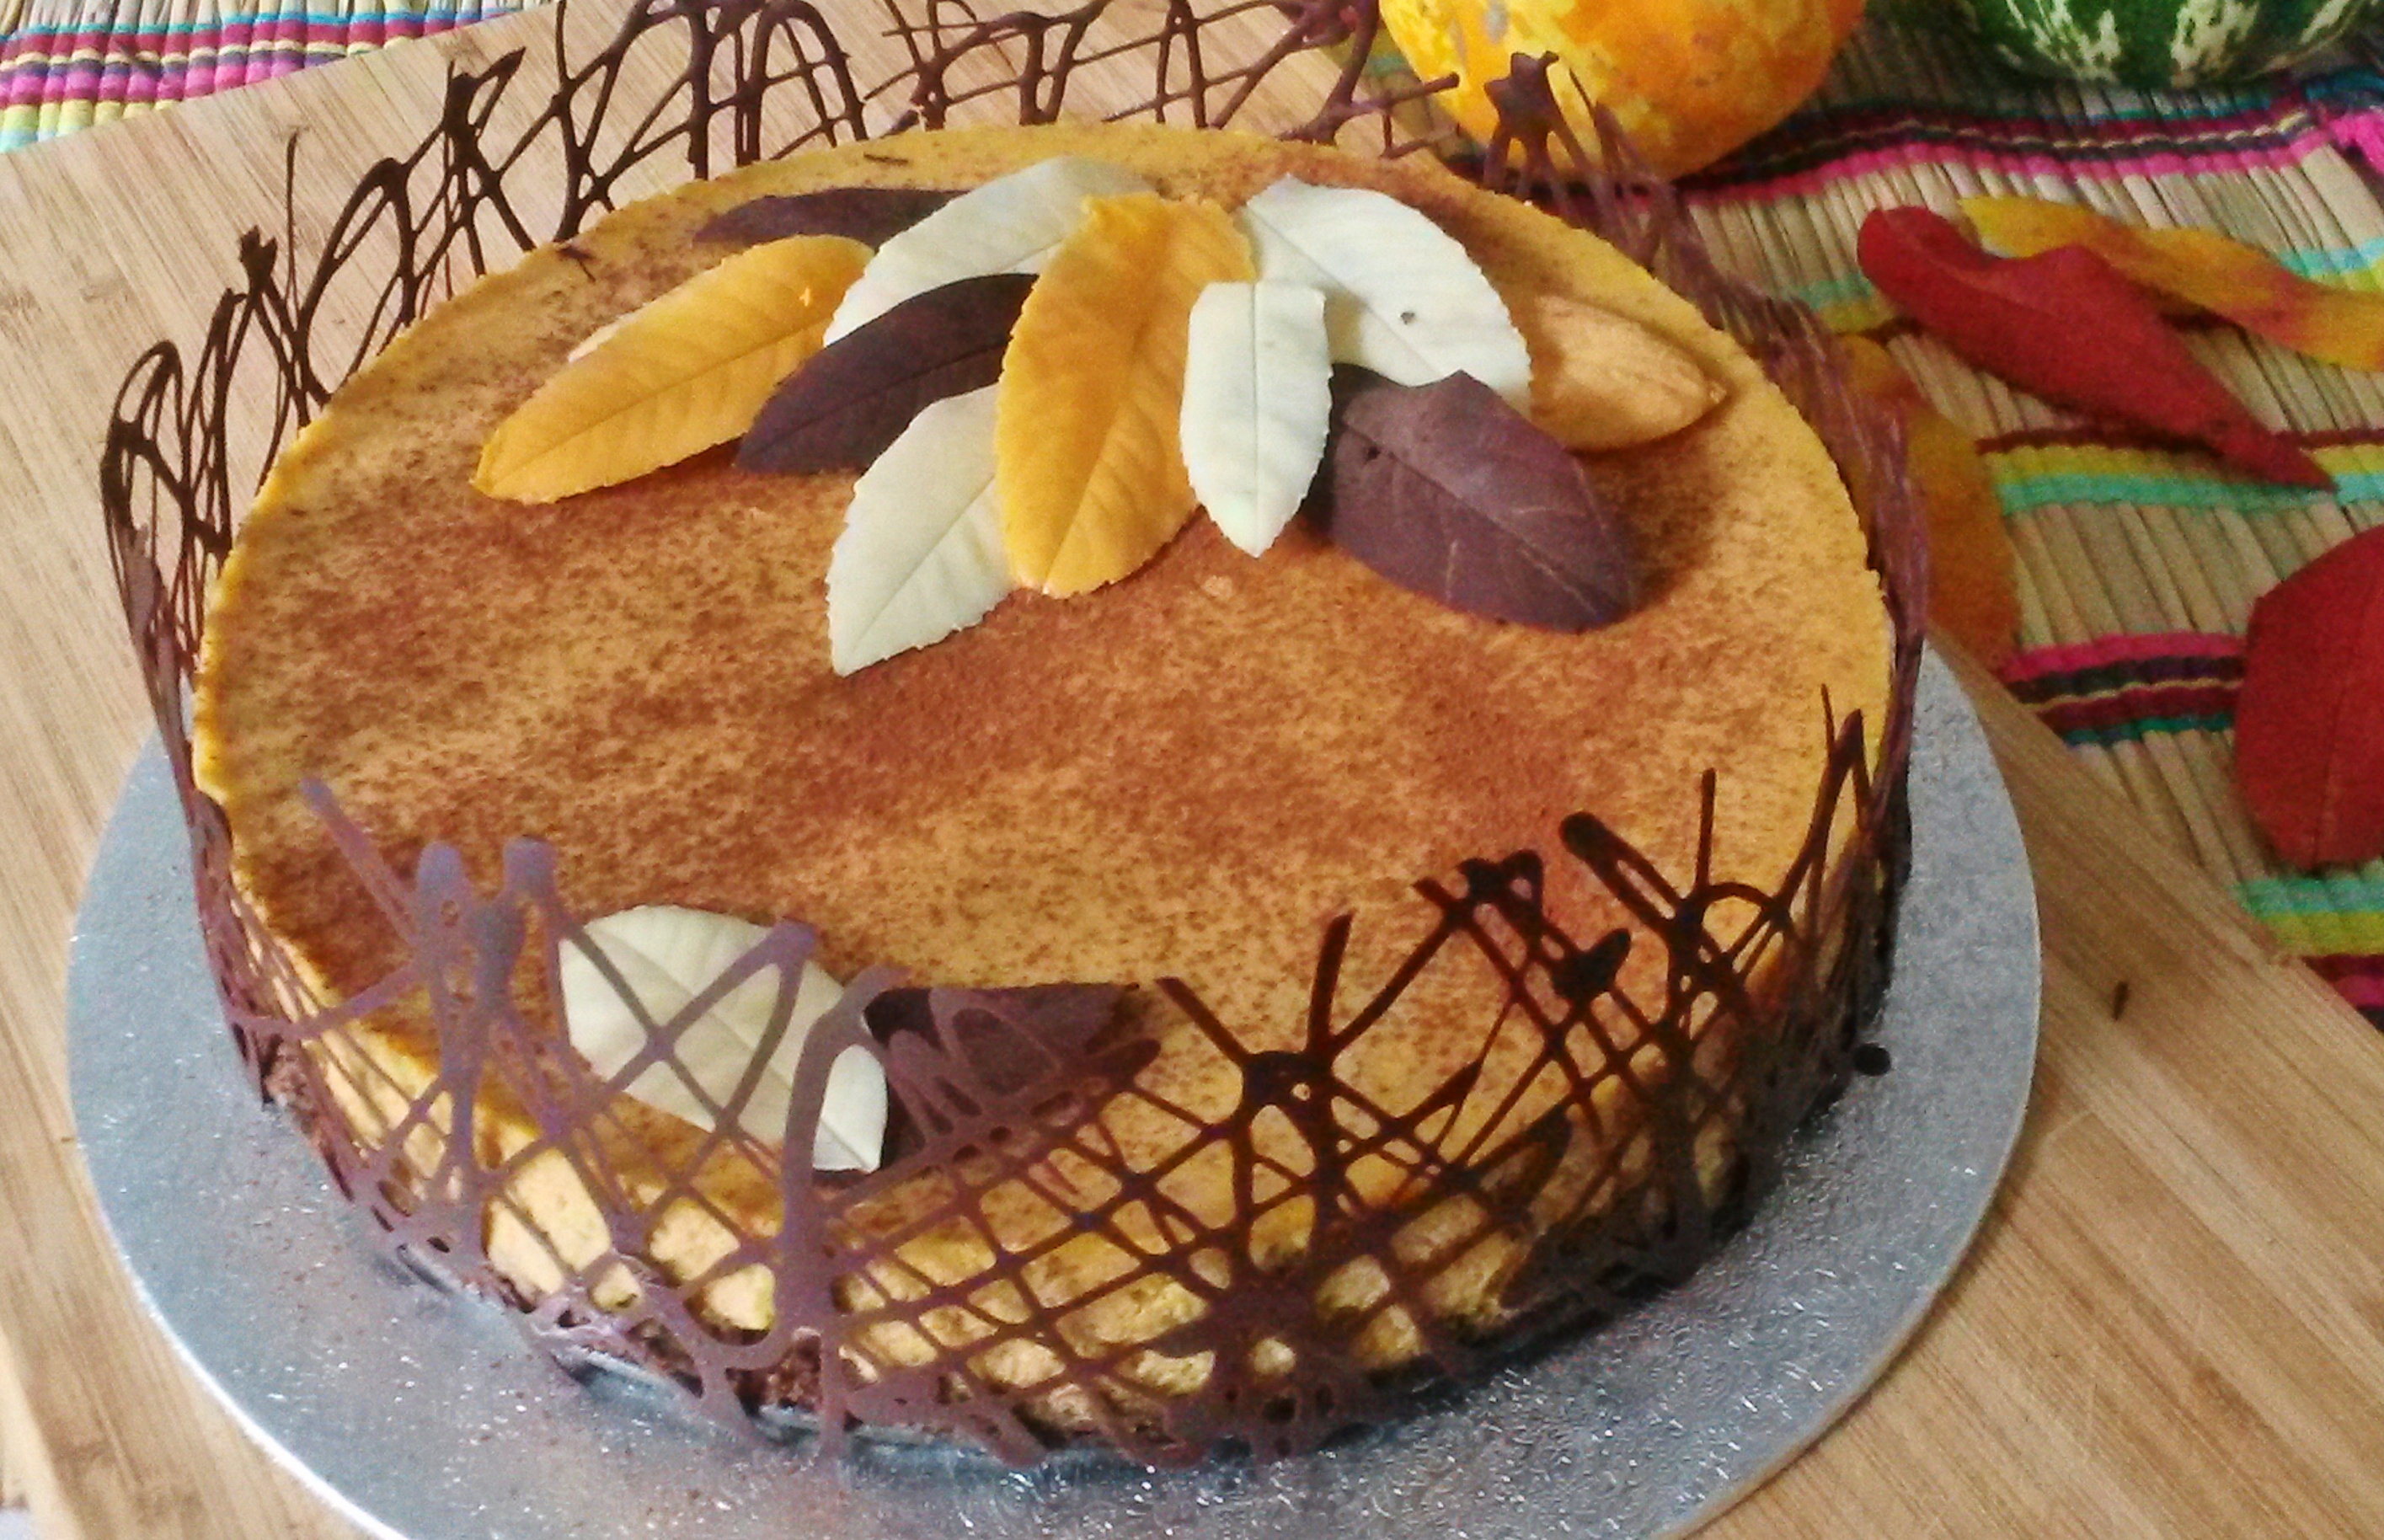

Gosh! That cake looks so elegant!
LikeLike
Thank you 🙂 it is amazing what little details can do!
LikeLike